Creating self-signed website certificates while acting as your own certificate authority
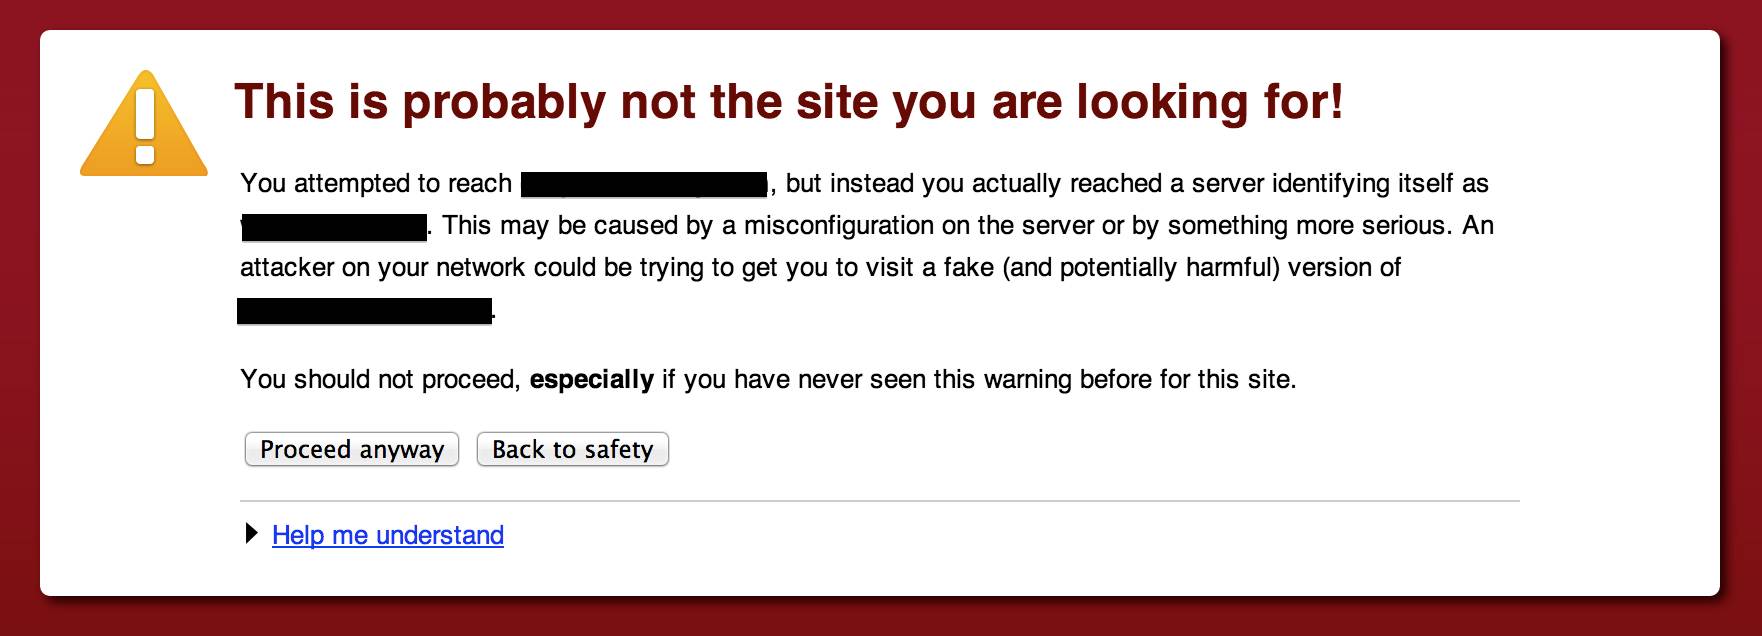
Those of us who host websites know why we create self-signed certs: we don’t want to pay for them. The only problem: the warnings that you have to respond to when you go to sites that use those certs.
Wouldn’t it be nice if we could somehow use self-signed certs while also avoiding those warnings? We can, if we also sign the certs with our own certificate authority!
Table of Contents
In the following series of steps, let’s assume the following:
- Our organization’s name is FooBar
- We want to use a self-signed cert with a website found at https://baz.foobar.com
- We will want to create other self-signed certs down the road for other websites, like https://qux.foobar.com & https://corge.foobar.com
- You’re using a UNIX-based OS, like Linux or Mac OS X (I have absolutely no idea how to do any of this on Windows)
For more on certificates, see the Wikipedia articles on root certificates, certificate authorities, self-signed certificates, public key certificates, certificate signing requests, & HTTP Secure.
Create the root certificate
Let’s first create the root certificate. This is done once & then used to sign all self-signed certs going forward. In essence, we’re becoming our very own Verisign, Comodo, DigiCert, or Thawte (unfortunately, without their market capitalization).
Create the root key
This is the key we’ll use for everything going forward. Open your terminal & enter the following:
openssl genrsa -out foobarCA.key 2048The end result is a file named foobarCA.key.
Keep this private key very private. This is the basis of all trust for your certs, & if someone acquires it, they can generate certificates that your browser will accept. Needless to say, this is very bad.
Note that we could’ve generated a key that requires a password by using
openssl genrsa -out foobarCA.key 2048 -des3, but we’re not doing that. Because we’re gonna be really really really careful & guard this root key, right?
Create the root cert
Now we act as our own self-signed Certificate Authority & create a self-signed root cert:
openssl req -x509 -new -nodes -key foobarCA.key -days 10000 -out foobarCA.crtYou’ll be asked several questions:
You are about to be asked to enter information that will be incorporated
into your certificate request.
What you are about to enter is what is called a Distinguished Name or a DN.
There are quite a few fields but you can leave some blank
For some fields there will be a default value,
If you enter '.', the field will be left blank.
-----
Country Name (2 letter code) [AU]:US
State or Province Name (full name) [Some-State]:Missouri
Locality Name (eg, city) []:St. Louis
Organization Name (eg, company) [Internet Widgits Pty Ltd]:FooBar
Organizational Unit Name (eg, section) []:
Common Name (eg, YOUR name) []:FooBar
Email Address []:admin@foobar.com
Note that our root cert is valid for 10,000 days—until 2040! Why so long? When that root certificate expires, any certificates signed with it are no longer valid. At that point, a new root cert has to be created & all certs that were previously signed with the old one have to be revoked & then re-signed with the new root cert. If you’re feeling paranoid & don’t mind a ton of extra work, change the number to something much lower, like 365 or 730, or even 3650.
The end result is a file named foobarCA.crt.
Install the root cert on your computer
Now you have to install the root cert so that your browsers know about the FooBar Certificate Authority. How you install the root cert depends upon your OS & browser.
Safari & Chrome on Mac OS X
Mac OS X provides a central location for certificates: Keychain Access. Safari & Chrome use Keychain Access, so once you install the cert there, those browsers are good to go.
Double-click on foobarCA.crt & it will open in Keychain Access, in the login keychain. You may be prompted to enter your password; do so. You will see a new entry named FooBar (not foobar.com; that’s something else).
Because the cert is in the
loginkeychain, it only applies to you. If you want everyone using your Mac to be able to use this cert, drag the cert to theSystemkeychain. If you’re prompted for a password, enter it.
Double-click on the FooBar entry in Keychain Access & a window labeled FooBar will open. Expand the triangle next to Trust. Next to When Using This Certificate, select Always Trust. Close the window & enter your password again when prompted.
Quit Keychain Access.
IE & Chrome on Windows
Just as Apple does, Microsoft provides a central storage place for certs, which IE & Chrome both use.
Open Control Panel > Internet Options > Content. Click on Certificates. The Certificates window will open.
Choose the Trusted Root Certification Authorities tab. Click on Import. The Certificate Import Wizard window will open.
Go through the Certificate Import Wizard, importing foobarCA.crt.
When you’re finished with the Certificate Import Wizard, you should see FooBar listed as a Trusted Root Certification Authority. Close any open windows, & restart IE or Chrome if they’re open.
Firefox on Mac OS X, Windows, & Linux
Firefox doesn’t use the OS’s central cert repository; instead, it has its own, which is annoying. Open Firefox & then open Preferences/Options > Advanced > Encryption & click on View Certificates. The Certificate Manager window opens.
You might want to check if you have an old cert for your server (if you’ve been self-signing without creating your own CA) & remove it. Click on the Servers tab, & look for
baz.foobar.com. If you see it in the list, select it & then click on Delete.
Click on the Authorities tab, & then the Import button. Find foobarCA.crt, select it, & import it. Check the box next to each of the following:
- Trust this CA to identify websites
- Trust this CA to identify email users
- Trust this CA to identify software developers
Press OK, & you should now see FooBar listed among the list of certificate authorities. Press OK again to close the Certificate Manager window, & close Preferences/Options.
Opera on Mac OS X, Windows, & Linux
Like Firefox, Opera doesn’t use Keychain Access. Why do some browsers insist on re-inventing the wheel? Stupid!
Open Opera & go to Preferences > Advanced > Security & click on Manage Certificates. The Certificate Manager window will open.
Select the Authorities tab & click on Import. Find foobarCA.crt, select it, & install it. You should now see FooBar listed among the list of certificate authorities. Press OK to close the Certificate Manager & press OK again to close Preferences.
Chromium or Chrome on Linux
On Windows & Mac OS X, Chrome uses the certificate store managed by the OS. Given the fragmented nature of Linux, Chrome uses its own, like Firefox & Opera do. One nice thing, though: if you install the root cert on Chromium, it will also work in Chrome, & vice-versa.
Open Chromium or Chrome & go to Settings, then scroll down & click on Show Advanced Settings, & then scroll down & click on Manage Certificates. The Certificates Manager window will open.
Select the Authorities tab. Click on the Import button, find foobarCA.crt, select it, & install it. Check the box next to each of the following:
- Trust this certificate for identifying websites
- Trust this certificate for identifying email users
- Trust this certificate for identifying software makers
Press OK to close the Certificates Manager window.
Create a self-signed cert for a website
Now we need to create a self-signed cert for a specific website, which in this case is going to be https://baz.foobar.com. This will need to be done for every website. 5 websites? 5 self-signed certs. 8 websites? You get the picture.
Create a key for the website
Now create a key that is specific to the website:
openssl genrsa -out baz.foobar.com.key 2048The end result is a file named baz.foobar.com.key.
Create a CSR for the website
Using the key you just created, generate a certificate signing request:
openssl req -new -key baz.foobar.com.key -out baz.foobar.com.csrWe’ll be asked several questions. The key line below is Common Name—you must put in the fully qualified domain name for the website for which you’re creating the self-signed cert.
You are about to be asked to enter information that will be incorporated
into your certificate request.
What you are about to enter is what is called a Distinguished Name or a DN.
There are quite a few fields but you can leave some blank
For some fields there will be a default value,
If you enter '.', the field will be left blank.
-----
Country Name (2 letter code) [AU]:US
State or Province Name (full name) [Some-State]:Missouri
Locality Name (eg, city) []:St. Louis
Organization Name (eg, company) [Internet Widgits Pty Ltd]:FooBar
Organizational Unit Name (eg, section) []:
Common Name (eg, YOUR name) []:baz.foobar.com
Email Address []:admin@foobar.com

Please enter the following 'extra' attributes
to be sent with your certificate request
A challenge password []:
An optional company name []:
The end result is a file named baz.foobar.com.csr that will only work with https://baz.foobar.com.
Create a self-signed cert for the website
Now sign the CSR, which will require the CA root key (foobarCA.crt) that was created in the beginning of this process (note that we’re saying that it will also be good for 10,000 days!):
openssl x509 -req -in baz.foobar.com.csr -CA foobarCA.crt -CAkey foobarCA.key -CAcreateserial -out baz.foobar.com.crt -days 10000The result is a file named baz.foobar.com.crt—the self-signed cert for the website!
Install the self-signed website key & cert on the server
Now it’s time to finally do something on the server. The following are specific to Ubuntu Server, so your web server may be (very) different.
Copy the following files to /etc/ssl/private (really, you just need the crt & key files, but we’re putting the csr there for convenience):
- baz.foobar.com.crt
- baz.foobar.com.csr
- baz.foobar.com.key
Find the Apache config file for the site in /etc/apache2/sites-available & edit it. Add these lines (of course, they’ll be different for every site):
<IfModule mod_ssl.c>
SSLEngine On
SSLProtocol ALL -SSLv2
SSLCipherSuite HIGH:!SSLv2:!ADH:!aNULL:!eNULL:!NULL
SSLCertificateFile /etc/ssl/private/baz.foobar.com.crt
SSLCertificateKeyFile /etc/ssl/private/baz.foobar.com.key
</IfModule>
Reload Apache:
service apache2 reloadGo to the website: https://baz.foobar.com. You should see that the URL starts with https & you should not see the scary warning that the cert is invalid or dangerous. Wonderful!
Caveats
Keep in mind, you are not warned that the self-signed cert is invalid or dangerous precisely because you installed the root cert for the FooBar Certificate Authority on your computer. Anyone else in the world who visits that website without that root cert will still see the scary warning (which may be just fine with you). If you want other team members or employees to access the site with the self-signed cert, you need to first install the root cert on their machines.
I’d like to thank Don Ellis for helping me test installing certs on Linux. Thanks, Don!